Tag Archives: Google

GUIDE: Update your Galaxy Nexus from ‘Yakjuux’ build straight to ‘yakju’ Jelly Bean 4.1.1


Image

Finally!!! I have finally updated my old guide and edited it to now make a new guide on how to update your ‘Yakjuux’ build Galaxy Nexus to the new ‘Yakju’ build running the latest version of Android, Jelly Bean 4.1.1. I have left the old guide up for those who want to be able to get the update OTA from Google, but if you choose to bypass the OTA and go straight to the latest version, this is the guide for you. I have left all the old information regarding what the ‘Yakjuux’ and ‘Yakju’ builds are for new users who may not have seen the old post so skip down to the bottom for the instructions. I will also be adding a FAQ section soon as I have received many of the same questions and will save you some time even though most of the questions are answered in this post.

So you’ve purchased a new Galaxy Nexus phone from Rogers, Telus, Fido, Bell, AT&T or any other GSM  with hopes of having the latest updated; it turns out that there are two different builds, ‘yakjuux’ and ‘yakju’. The main differences between these two builds is that the ‘yakjuux’ build is pushed out by Samsung and the Yakju build is pushed directly from Google.  The benefit from having the ‘yakju’ build is that you will receive the updates much faster as they are being pushed from Google directly.

The current pushed versions of Ice Cream Sandwich:

YAKJUUX – 4.0.2

YAKJU      – 4.1.1 (JRO03C)

In this tutorial, I am going to show you how to update your build from the ‘yakjuux’ to ‘yakju’ build of Jelly Bean 4.1.1 on Mac OS X. I am using OS X lion 10.7.3.

Disclaimer: I take no responsibility for any damages you incur to your phone by updating. I am merely writing a how-to guide and everything is done at your own risk.

Make sure you backup anything on your phone as this process will wipe everything.

First you will need to download the fastboot file which is located inside the ‘Nexus’ folder. That file can be downloaded https://www.dropbox.com/s/lkaey1tajd0ttnx/Nexus.zip

You will want to place the Nexus folder onto the desktop as the commands below require it.

Inside the “Nexus” folder, you will find the file “fastboot”. Open this up the way you would an application and let is run. It will ‘install’ whats needed. If you don’t, you will receive a permission denied reply when you try to run the fast boot commands.

Next, download the Factory Image for Android 4.1.1 here: Link

You will want to download UnRarX in order to extract the Android 4.1.1 tgz file. Once you are ready to extract the file, extract the contents to the ‘Nexus’ folder located on the desktop.

Next download the Android File Transfer software for mac from http://www.android.com/filetransfer/ and install.

At this point, you should have everything extracted into the ‘Nexus’ folder on the Desktop and we are ready to start the process.

We are going to start by unlocking the boot loader. This is needed so that we can install the ‘yakju’ image files. Note: This is not the same thing as rooting your phone.

First you are going to want to plug-in your Nexus and make sure that the Android File transfer recognizes the phone. If it does, power down the phone with it still being connected to the computer.

Next, boot the phone into recovery mode. To do this, power down the phone and restart it by holding the power and volume up/down buttons until you see the recovery screen.

Next, we will unlock the Bootloader. To do this, open up Terminal(located in your Applications->Utilities folder)and type the following commands.

1.) cd ~/desktop/Nexus        (hit enter after typing each one if these commands)

2.) ./fastboot devices

If everything is installed correctly, you should see xxxxxxxxxx fastboot(the numbers represent your serial number)

3.) ./fastboot oem unlock

4.)Your phone will ask you if you want to unlock the bootloader. Use the volume up button to ‘yes’ and select it by pressing the power button.

NOTE: THIS WILL ERASE ALL DATA ON YOUR PHONE. Your bootloader is now unlocked.

Next we will install the new files:

5.)type ./fastboot flash bootloader bootloader-maguro-primelc03.img

6.) type ./fastboot reboot-bootloader

7.) type ./fastboot flash radio radio-maguro-i9250xxlf1.img

8.) type ./fastboot reboot-bootloader

9.) type ./fastboot -w update image-yakju-jro03c.zip

At this point, the phone will automatically restart. Once the phone has booted to the factory startup screen, power down again and and boot into recovery mode.

We are going to now re-lock the bootloader. Keep in mind that if you choose to lock it and want to update to a future version, you will need to re-unlock it and thus erase everything again. If you decide that you need to send it in for warranty, you will want to re-lock it.

To lock the bootloader:

In the Terminal, type the following:

1.) type ./fastboot devices

2.) type ./fastboot oem lock

Your bootloader is now locked again.

3.) ./fastboot reboot

Your phone is now updated to the latest firmware, Android 4.1.1 Jelly Bean. As well, you will now also be able to receive the future OTA updates directly from Google.

27 Comments

Filed under Tutorial, Updates

Galaxy Nexus Yakjuux to Jelly Bean 4.1 guide coming soon…


Wow, the page views have exploded over the past few days. I never would have guessed that I would get such a positive response to what I thought was ‘just another guide’. Thank you all for the comments on if its helped you or anyone else. Anyway, I’ve been getting a lot of post/emails about making a update guide similar to my Yakjuux to Yakju guide, but for Jelly Bean. Once the factory image for Jelly Bean is released, I will make a new guide and upload the proper files for you to install. If you haven’t subscribed to my blog or followed me on Google+ or Twitter, be sure to as I will post updates there about where I’m at with things.Image

4 Comments

Filed under News, Updates

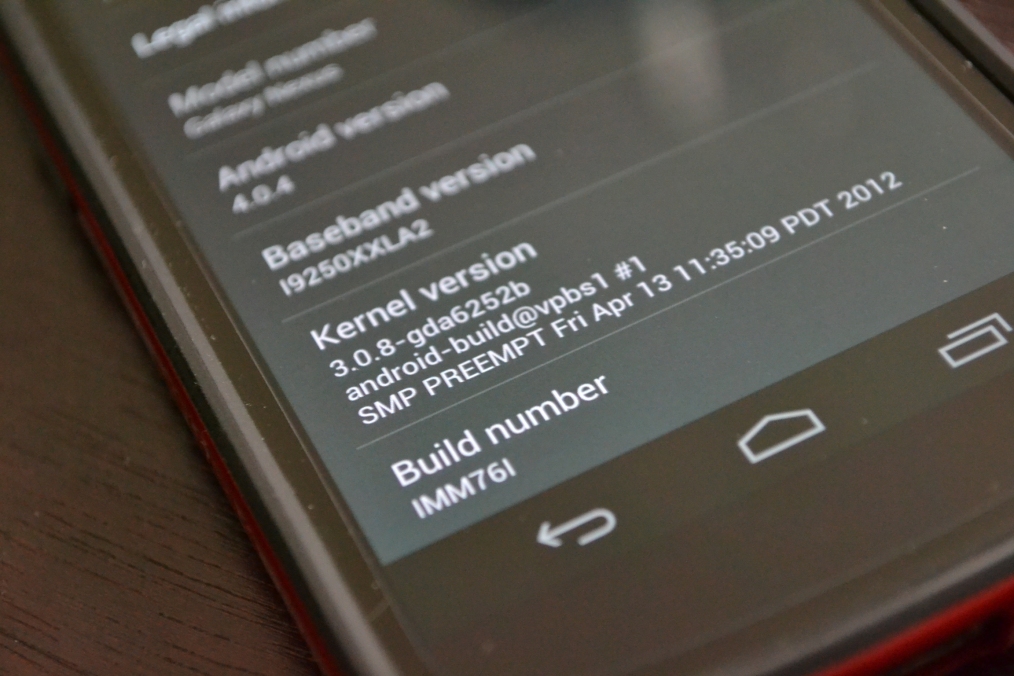
Android 4.0.4 build IMM76I now out!


ImageGoogle has released the full image for Android 4.0.4, build IMM76I. You can get it here: https://developers.google.com/android/nexus/images

Leave a comment

Filed under News, Updates

Review: Spigen SGP Neo Hybrid for Samsung Galaxy Nexus


  • Company – Spigen SGP
  • Product Name – Spigen SGP Neo Hybrid
  • Price – $24.99  Currently on sale for $13.99 (8/23)
  • Website – www.spigen.com

So you’ve bought your new Galaxy Nexus and want to protect it from nicks and scratches without sacrificing size? There are many different options out there, so today I’m going to give you my review of the SGP Neo Hybrid.

The Spigen SGP Neo Hybrid, a case retailing for $24.99, is available in 5 different colours. I was very excited to receive this case but was a bit disappointed to find that they didn’t include a screen shield; something that they are known for having the best of. I would have been willing even to spend a few dollars more for them to include one.

The Neo Hybrid, a two piece case, is composed of a soft silicon shell inner and a hard polycarbonate frame outer. The inner is made of a nice and smooth silicon which doesn’t pick up any lint or dust, unlike other gummy silicon out there that pick up everything. It is smooth but still provides some grip so it doesn’t slip out of your hand. The inner shell has both hard rubber covers for the volume up/down as well as the power button. The outer frame, has cutouts for the headphone jack as well as the micro USB charger. There are various cutouts for things suck as the microphone/camera and secondary mic. I was very impressed with how precise the cutouts were as well as how form-fitting this case is. There is no movement and the phone sits tight and secure inside thanks to several small notches that securely fasten the outer shell to the inner. Due to this design, the case is virtually an exact fit. There is no movement and the phone sits securely inside. I found that the cutout for the USB charger is almost flush when plugged in and you need to use a little force to push it in all the way. Nothing big enough to consider a negative.

Using this case on an every day basis has been nothing but a positive experience. I am able to slide the phone in and out of my pocket with ease and is very comfortable to hold in your hand. There is a raised  silicon lip around the frame which allows you to lay the phone face down as well as a slightly raised lip around the camera cutout – something you need to worry about if you’re not using a case. I didn’t take any more special case while using the phone than I normally would and after a few months, the case has held up extraordinarily. In and out of the pocket, sliding into the car upholder, onto the table and it with a quick wipe, there isn’t a scratch on the case – it looks as good as the day I bought. The polycarbonate shell was a concern when I bought it as past experiences with cases like this have resulted in the case looking very beat up.

So ff you’ve just purchased your Galaxy Nexus and are looking for the very best – look no further. Other than the fact that they didn’t include a screen shield, which I don’t think should be a deal breaker – I can’t find anything bad to say about this case. This is going to continue to be my every day protection until something can top it.

1 Comment

Filed under Reviews, Updates

Tip: How to ‘force check’ for an update


image

So your eagerly waiting for Google to push the latest OTA update to your phone? Here is a trick that ‘may’ help speed up the process.

The factory System Update checks for a new version every few hours, but other users on various forums have found out a way to potentially speed up the process. I say potentially because it may take one, two or many times for this to work, but I can confirm that it did work for me. Heres what you need to do:
image

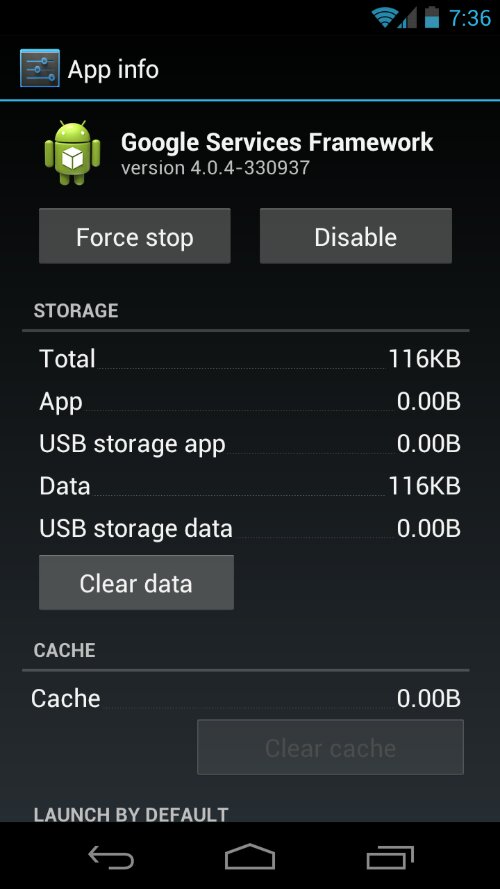
Go into your Setting -> Apps -> All -> Google Services Framework

You will see a button for “Clear Data”; clear it.

Go into your dialer and type *#*#2432546#*#*  – This will cause a ‘force checkin’. You will notice that it show “checkin succeeded”. You have performed the operation correctly. Like I stated earlier, you may have to repeat the process many times. I suggest trying this a few times every couple hours as you will drive yourself crazy if you keep checking over and over.

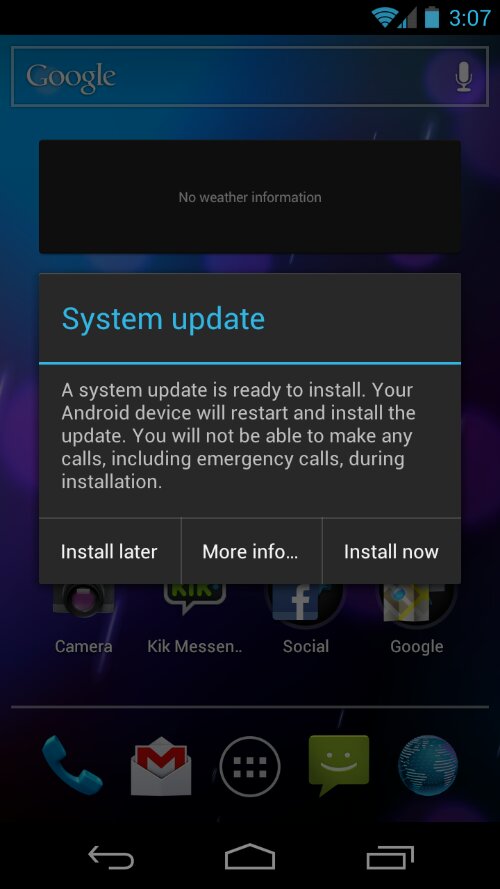
If it works, an update will popup. This procedure will work for any future OTA update as well.

1 Comment

Filed under Tips and Tricks, Tutorial, Updates

IMM76I update received


image

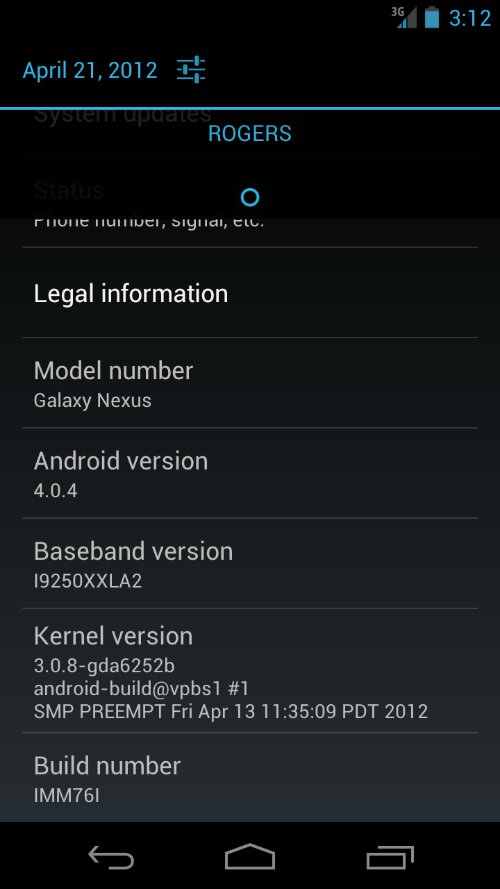
Just received the newest OTA update from Google this afternoon, IMM76I. For those wondering, my Nexus was purchased from Rogers Wireless and I’m in Canada. Check out my guide for installing the 4.0.4 update so you can get future updates from Google. U

The update seems to have fixed the sleep/signal loss issue as well as the lag from the unlock while having your brightness settings on auto. I will update if I find more.

Leave a comment

Filed under News, Updates

Guide: Update your Galaxy Nexus from ‘yakjuux’ to ‘yakju’ 4.0.4 – Mac OS X


So you’ve purchased a new Galaxy Nexus phone from Rogers, Telus, Fido, Bell with hopes of having the latest updated; it turns out that there are two different builds, ‘yakjuux’ and ‘yakju’. The main differences between these two builds is that the ‘yakjuux’ build is pushed out by Samsung and the Yakju build is pushed directly from Google.  The benefit from having the ‘yakju’ build is that you will receive the updates much faster as they are being pushed from Google directly.

The current pushed versions of Ice Cream Sandwich:

YAKJUUX – 4.0.2

YAKJU      – 4.0.4

In this tutorial, I am going to show you how to update your build from the ‘yakjuux’ to ‘yakju’ build of Ice Cream Sandwich 4.0.4 on Mac OS X. I am using OS X lion 10.7.3.

Disclaimer: I take no responsibility for any damages you incur to your phone by updating. I am merely writing a how-to guide and everything is done at your own risk.

Make sure you backup anything on your phone as this process will wipe everything.

First you will need to download the files required to install the update. I have taken the required files and zipped them into a single folder to save you some time – the folder contains the fastboot files needed as well as the ‘yakju’ files already extracted. You are going to want to extract the zip file to the Desktop. Leave the files inside the folder they came in as the terminal commands will be written for that folder name. You can download them from http://dl.dropbox.com/u/9654321/Nexus.rar

Inside the “Nexus” folder, you will find the file “fastboot”. Open this up the way you would an application and let is run. It will ‘install’ whats needed. If you don’t, you will receive a permission denied reply when you try to run the fast boot commands.

Next download the Android File Transfer software for mac from http://www.android.com/filetransfer/ and install.

We are going to start by unlocking the boot loader. This is needed so that we can install the ‘yakju’ image files. Note: This is not the same thing as rooting your phone.

First you are going to want to plug-in your Nexus and make sure that the Android File transfer recognizes the phone. If it does, power down the phone with it still being connected to the computer.

Next, boot the phone into recovery mode. To do this, power down the phone and restart it by holding the power and volume up/down buttons until you see the recovery screen.

Next, we will unlock the Bootloader. To do this, open up Terminal(located in your Applications->Utilities folder)and type the following commands.

1.) cd ~/desktop/Nexus        (hit enter after typing each one if these commands)

2.) ./fastboot devices

If everything is installed correctly, you should see xxxxxxxxxx fastboot(the numbers represent your serial number)

3.) ./fastboot oem unlock

4.)Your phone will ask you if you want to unlock the bootloader. Use the volume up button to ‘yes’ and select it by pressing the power button.

NOTE: THIS WILL ERASE ALL DATA ON YOUR PHONE. Your bootloader is now unlocked.

Next we will install the new files:

5.)type ./fastboot flash bootloader bootloader-maguro-primela03.img

6.) type ./fastboot reboot-bootloader

7.) type ./fastboot flash radio radio-maguro-i9250xxla02.img

8.) type ./fastboot reboot-bootloader

9.) type ./fastboot -w update image-yakju-imm76d.zip

At this point, the phone will automatically restart. Once the phone has booted to the factory startup screen, power down again and and boot into recovery mode.

We are going to now re-lock the bootloader. Keep in mind that if you choose to lock it and want to update to a future version, you will need to re-unlock it and thus erase everything again. If you decide that you need to send it in for warranty, you will want to re-lock it.

To lock the bootloader:

In the Terminal, type the following:

1.) type ./fastboot devices

2.) type ./fastboot oem lock

Your bootloader is now locked again.

3.) ./fastboot reboot

Your phone is now updated to the latest firmware, Android 4.0.4. You will now be able to receive the future OTA updates directly from Google.

Guide for updating on a PC will be written shortly.

171 Comments

Filed under Tutorial, Updates